
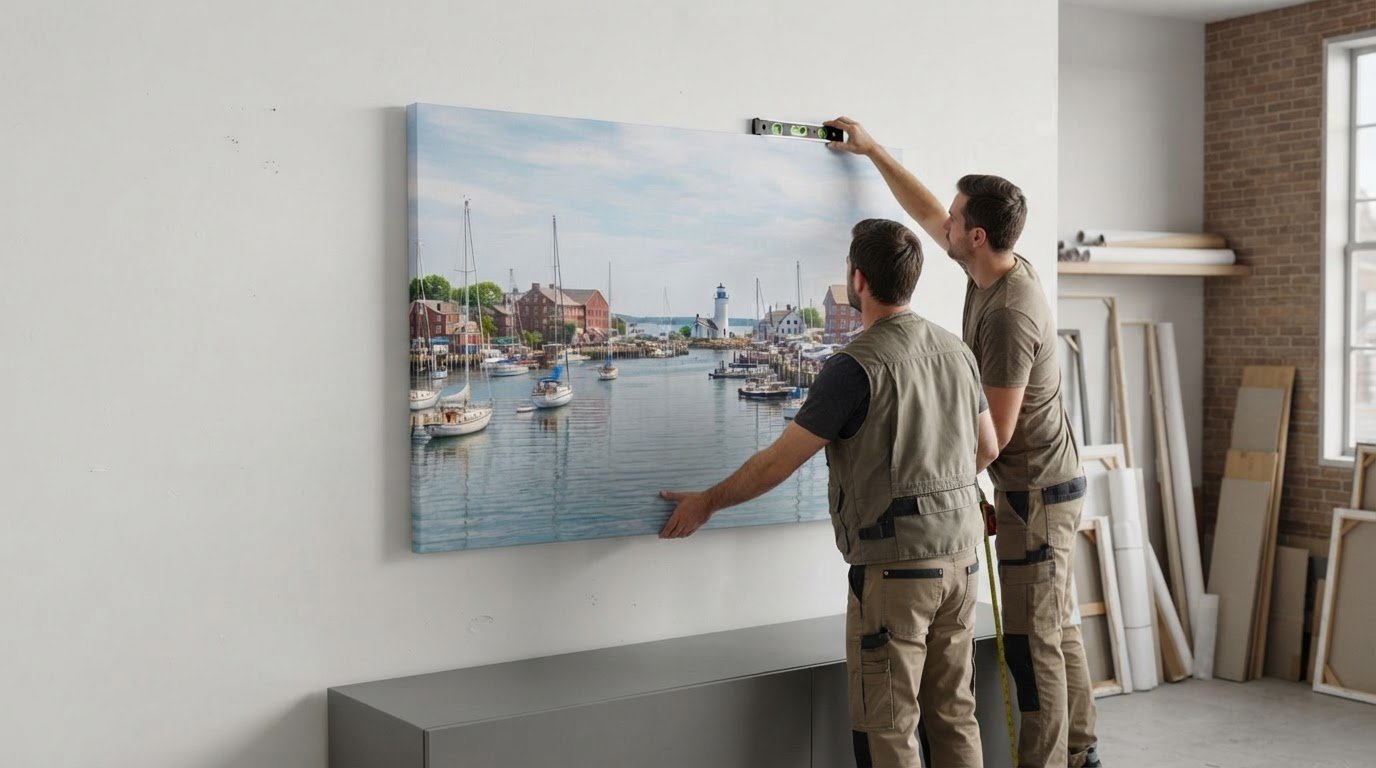
The center of a canvas is generally hung 57 to 60 inches above the floor, giving you a reliable starting point for how to hang a large canvas print. Above a couch or console table, leave 6 to 10 inches between the furniture and the bottom of the canvas. The right height depends on the wall and what sits beneath the artwork, but careful placement helps it feel connected to the room.
Choosing the height is only part of the job. A large canvas also needs an orientation that suits its proportions and hangers secured to the frame. This guide explains how to measure the right height, choose vertical or horizontal placement, and position D-rings or wire so the artwork hangs level. Careful measuring before you make holes helps avoid guesswork and creates a balanced display.
Key Takeaways
- Plan the canvas position around the wall and nearby furniture to create a balanced display.
- Choose vertical or horizontal placement to suit the artwork’s proportions and the space.
- Position frame hardware carefully so the canvas hangs securely and sits as intended.
- Use a measured setup to keep the finished display level and reduce shifting.
How high should I hang my canvas?
Start with the wall, the furniture beneath it, and the canvas dimensions. A useful baseline is to place the canvas center 57 to 60 inches above the floor, then adjust for the room.
-
Choose a location that balances art with furniture
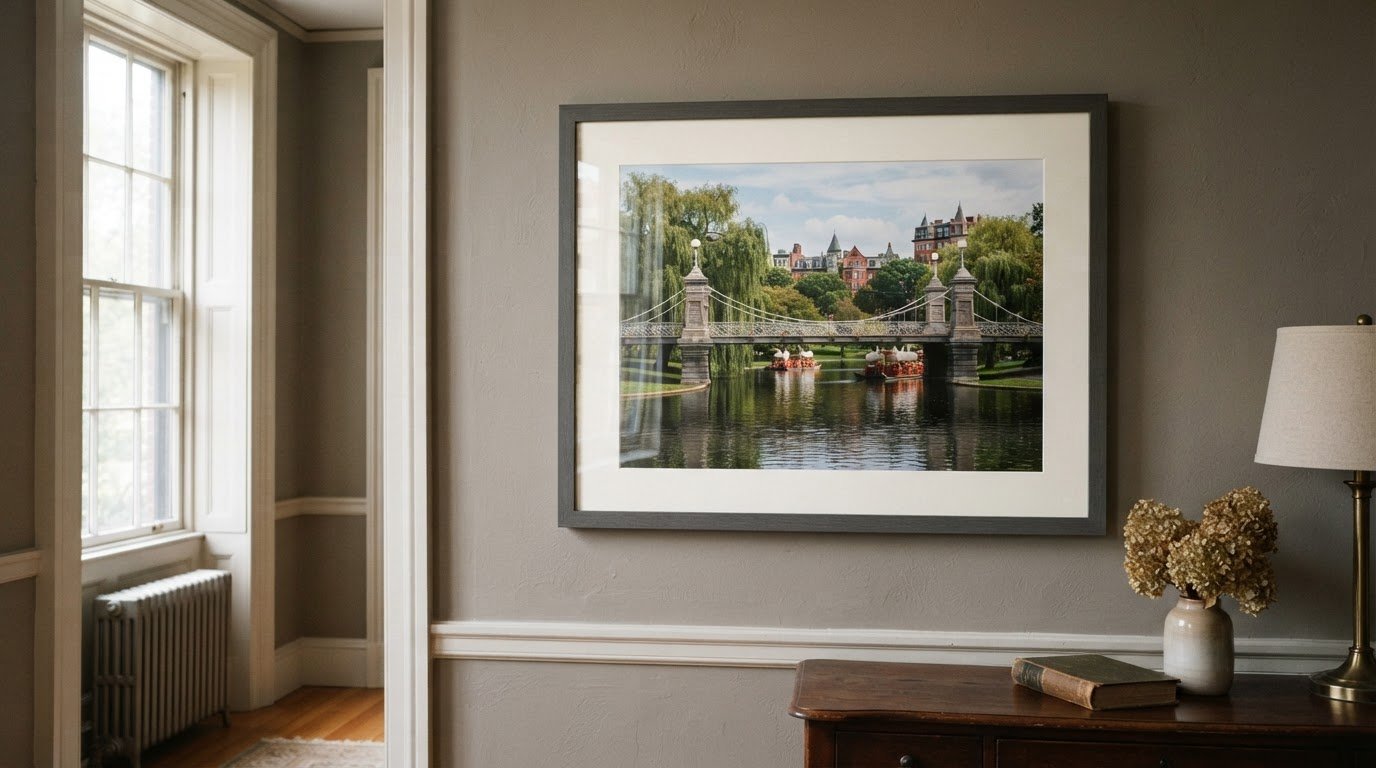
Center the canvas over the furniture or wall area it should anchor. Compare its width with the dresser, sofa, or console so the artwork and furniture feel balanced. A wide canvas above a narrow table, for example, can look out of proportion even when their centers align. Step back and consider the whole arrangement, including nearby doors and windows.
-
Choose a hanging height above furniture
Measure from the floor to the canvas center, using 57 to 60 inches as the general guideline. Above a couch or console table, leave 6 to 10 inches between the furniture and the canvas bottom. A dining-table display may sit slightly higher than a 60-inch center. For a dresser, the article’s example uses about 5 inches between the furniture and canvas, keeping the pieces visually connected.
-
Consider safety near furniture and high-traffic areas
Before drilling, check whether a large canvas could be bumped by a door, chair, or passing person. Use secure hardware suited to the wall and artwork, and avoid placing the canvas where it obstructs a walking route. According to the U.S. Access Board, wall-mounted objects with leading edges between 27 and 80 inches above the floor may protrude no more than 4 inches into walks, halls, corridors, passageways, or aisles.
-
Choose between wire and sawtooth hangers
Inspect the back of the frame before choosing how to hang it. A sawtooth hanger sits near the frame’s top edge and rests on a wall fastener. Hanging wire runs between attachment points and may shift slightly as the canvas settles. For a large canvas, choose hardware suited to its weight and use two nails or wall anchors where appropriate. Match the setup to the frame’s construction.
Hanging artwork vertically or horizontally
Choose vertical or horizontal placement to suit the canvas proportions and wall. Arrange help lifting an oversized canvas, since its size, weight, and hanging position affect how safely it can be handled.
- Decide on the orientation before marking the wall. A tall, narrow image often suits a vertical position, while a wide composition can fill a horizontal space. Compare the canvas edges with nearby furniture and architectural lines. Keep the frame’s intended top edge upright, then lightly mark the planned position with a pencil.
- Gather a tape measure, pencil, level, suitable fasteners, and a drill if needed for the wall. Choose picture hooks, nails, or screws to suit the canvas weight and wall surface. A large canvas may need two nails or wall anchors for support. For brick, concrete, or plaster, use fasteners designed for that material.
- Install the hooks or fasteners at the marked points, aligned with the frame hardware. Choose nails or screws suited to the canvas weight, and use wall anchors when appropriate for added stability. With help, lift the canvas onto the fasteners and check its position. Correctly placed nails or screws can support the canvas flush against the wall without a cord.
- Reserve adhesive strips for smaller canvas art. Check that their stated weight limit covers the canvas, then clean the wall with rubbing alcohol and let it dry. Apply the strips as directed. Once the canvas is attached, gently pull it away and press it back against the wall for a firm hold. Don’t use strips that cannot support the artwork’s weight.
Placing hangers in the canvas frame
Attach hanging hardware to the frame structure, not the canvas fabric. Even, accurate placement helps the artwork hang as intended.
- Inspect the back of the canvas and locate the wooden stretcher bars. Choose D-rings if you plan to hang the artwork with wire between two attachment points. Don’t fasten hardware to loose fabric or a thin, unsupported area. Before marking, check that both sides of the frame offer a solid place for the screws.
- Measure 1 to 2 inches below each upper corner, then mark matching positions on the frame sides. Keeping the D-rings at the same height helps the canvas hang evenly. For example, if the left ring sits closer to its corner than the right, the frame may tilt when lifted onto the wall fasteners.
- Fasten each D-ring at its marked point, aligning the screw holes with the frame. Use suitable screws and tighten them securely without driving them through the stretcher bar. Check that both rings can accept the wire and that the screws remain secure when you gently test the hardware by hand.
- Thread hanging wire through both D-rings and secure each end according to the wire’s design. Leave about 3 to 4 inches of slack between the wire and the top frame edge. This gives the wire room to lift onto a wall fastener. Too little slack can make hanging difficult; excessive slack changes where the canvas rests.
- Gently lift the wire toward the center of the frame before hanging the canvas. This shows where the wire will meet the wall fastener and whether both D-rings share the load. If one side is loose or the canvas tilts during the test, adjust the wire ends before installation. Keep the wire below the frame’s top edge so it won’t show above the canvas.

How to hang a large canvas print level and keep it from shifting?
Start with the canvas center and suspension points, then check the final position with a level. This helps you spot uneven hanging before finishing.
- Measure the canvas width and divide it by two to find its midpoint. Lightly mark the midpoint on the back, then use it to align the artwork with the intended center of the wall. For example, center the canvas over a dresser before lifting it into place. This reference also helps position the hanging hardware.
- Check the hanging hardware before lifting the canvas. If wire is attached to D-rings, gently raise it toward the frame’s center and make sure both sides take the load evenly. If one side is slack, adjust the wire attachment before placing the artwork on the wall fastener. Even suspension helps the canvas start out level.
- Set the canvas on its wall fastener, keeping one hand on each side of the frame. Align the canvas midpoint with the wall mark, then step back and compare its edges with nearby vertical and horizontal lines. A doorframe or dresser edge can reveal a tilt that’s difficult to spot up close.
- After hanging the canvas, place a level along its top edge. Gently adjust the frame until it sits straight, then carefully remove the level. Step away and check the artwork again. If the canvas shifts when you let go, reposition it on the fastener and check the level once more.
- Reduce movement by confirming that the canvas rests securely against the wall and the hardware is engaged. If the artwork repeatedly leans or slips, inspect the suspension points and wall fastener rather than forcing the frame into position. For artwork that needs specialized installation, professional hanging services can help secure it appropriately.
Planning a canvas for display? Prepare your artwork for its finished presentation with a considered print-and-frame plan.
Image-Tec: Giclee Printing Canvas prints up to 60″ wide & custom Framing
Image-Tec can help prepare artwork for display with Giclée canvas printing and custom framing. If you’re planning a large canvas, these services bring the print and frame together as a finished piece for your chosen wall. Canvas prints are available up to 60 inches wide, with custom framing to suit the artwork and presentation.
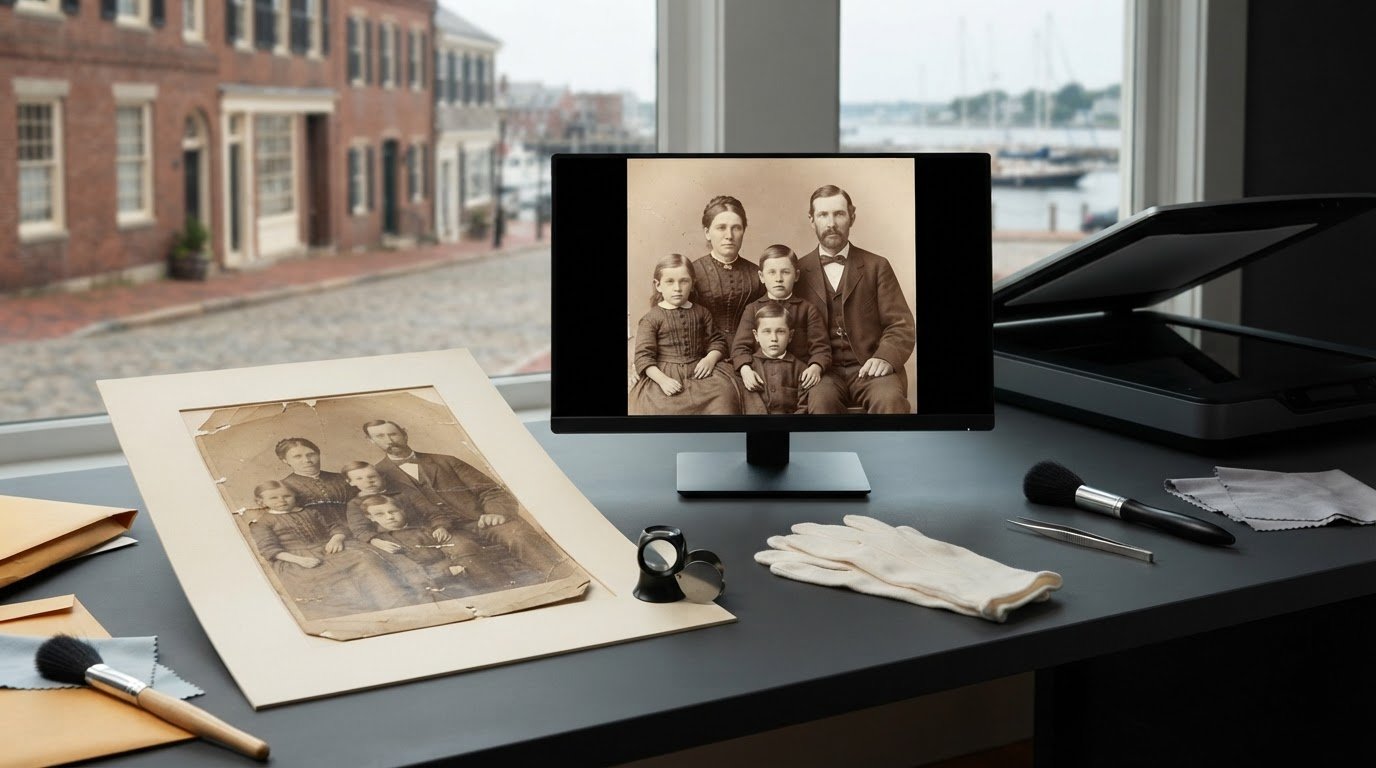
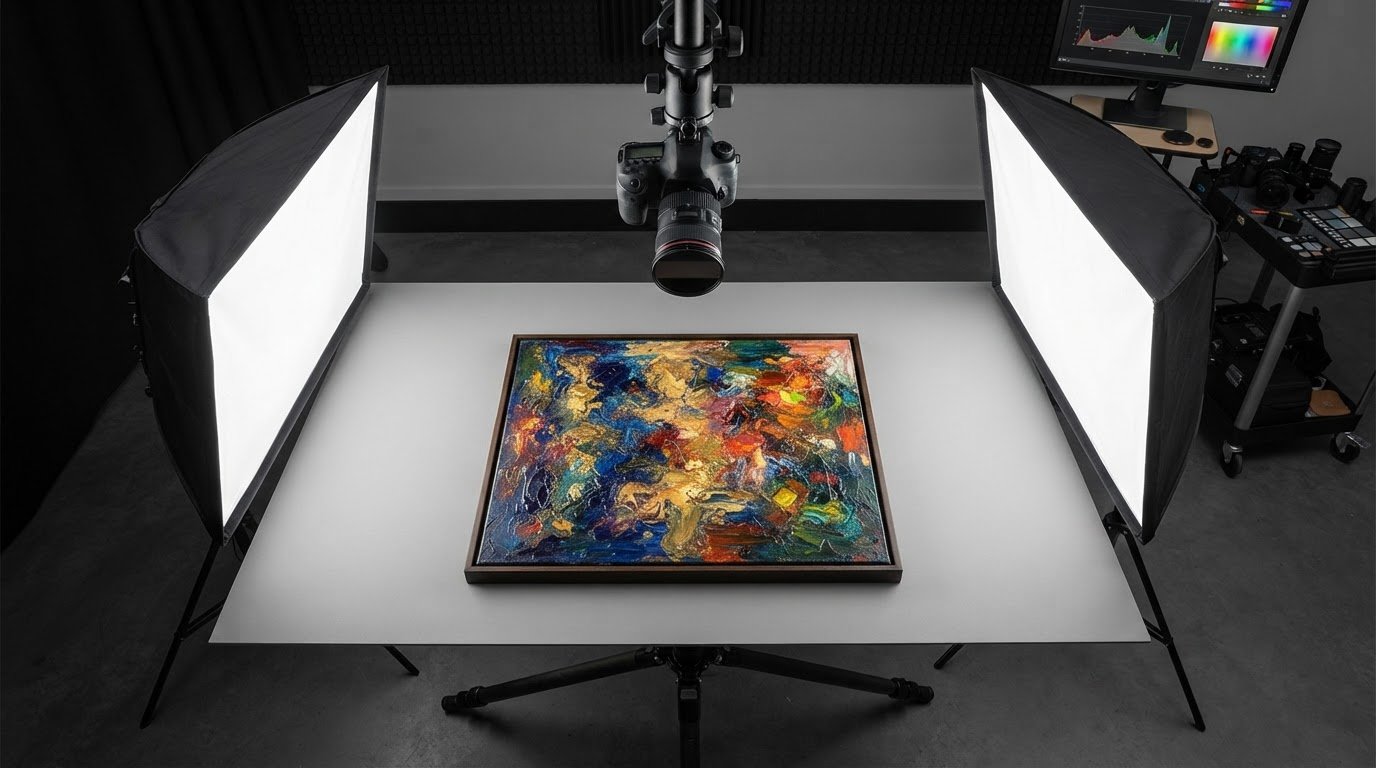
If you want a canvas made from existing artwork, BetterLight scanning can capture it for reproduction. Image-Tec provides high-resolution art scanning and Giclée printing on canvas and fine-art papers, with custom framing available as a next step. Choose the print and frame to suit the artwork and the space where you plan to display it.
Contact Image-Tec to discuss your canvas printing or framing project, or visit imagetecphoto.com.
Make the Wall Part of the Artwork
A finished display does more than fill an empty wall. It can create a focal point and make personal artwork feel deliberately placed. Before making final adjustments, consider how the image relates to the room’s colors, furnishings, and sightlines. This broader view can also guide which images you print and display together.
Learning how to hang a large canvas print can help you plan your next display, too. Treat the wall as part of the composition: consider the available space, nearby furnishings, and the effect you want the artwork to create. A well-chosen image and presentation can feel connected to its setting.
If you’re preparing artwork for a new display, Image-Tec offers canvas printing, custom framing, BetterLight scanning, and commercial photography. Contact Image-Tec to discuss your project, and take the next step toward a display that feels thoughtfully your own.
Frequently Asked Questions
How do I measure and mark the correct height for hanging a large canvas print?
Measure the canvas height and decide where its center should sit, then calculate the top and bottom edges from that midpoint. Lightly mark the planned edges with painter’s tape or pencil, then step back and assess them against nearby doors, furniture, and sightlines. Account for the frame hardware so the canvas doesn’t sit higher than planned.
How do I find wall studs and choose the right anchor for a large canvas?
Use a stud finder to locate a stud, then mark its center where the fastener will meet the frame hardware. If the planned position doesn’t line up with a stud, choose an anchor designed for the wall material and canvas load. Drywall and masonry, for example, require different fasteners. Consider the full setup, including both the frame attachment and wall fastener.
What screws, nails, or wall anchors do I need for a heavy canvas print?
Choose fasteners rated for the canvas’s weight and suited to the wall surface. A screw or nail must also fit the frame hardware, while an anchor must match the wall construction and installation method. Read the packaging and use the stated capacity as a guide. For a heavy canvas or masonry wall, avoid relying on a general-purpose fastener.
How much weight can drywall anchors, picture hooks, and studs support?
Drywall anchors, picture hooks, and stud installations don’t all have the same weight capacity. Capacity depends on the specific fastener, wall material, installation, and how the load is applied. Follow the rating and instructions for the exact fastener you use. Don’t assume two fasteners automatically double capacity: load distribution and frame hardware also affect support.
How do I hang a large canvas print with wire, D-rings, or a sawtooth hanger?
Match the hanging method to the frame hardware. Wire connects two D-rings and lifts onto a wall fastener, while a sawtooth hanger engages a fastener directly. Secure the hardware to the rigid frame, not the canvas fabric. Before hanging, check that the wire or sawtooth sits correctly and doesn’t extend above the frame. Lift the canvas into place and check its alignment.





Leave A Comment
You must be logged in to post a comment.