
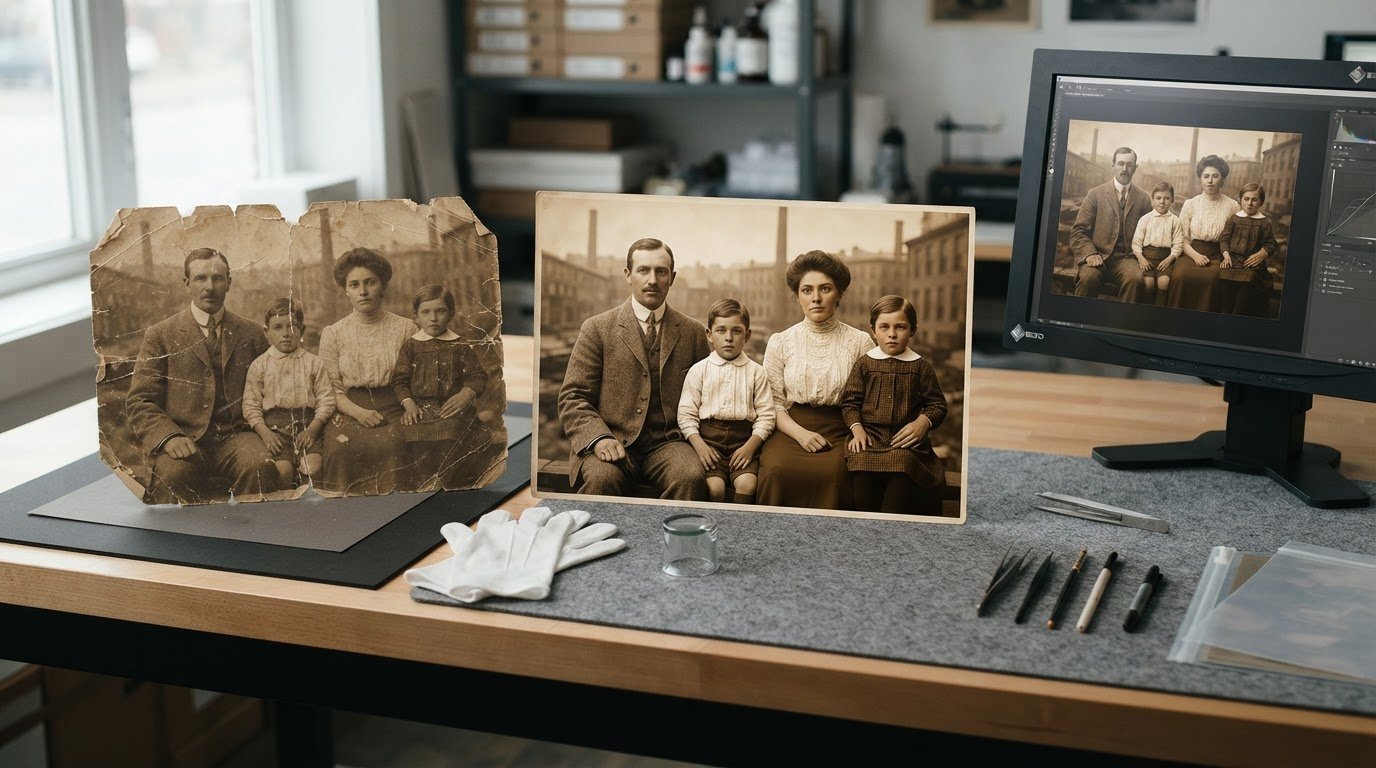
Can damaged photograph restoration improve a print without losing the details that make it meaningful? Often, digital work can reduce the appearance of tears, stains, scratches, and fading. But missing image information cannot be recovered exactly. Reconstructing it requires interpretation, so protecting the original and setting a clear goal matter from the start.
If you’re deciding between an AI tool and professional help, start by considering the type and extent of the damage, the detail that remains, and how faithfully you want the result to reflect the original. This guide explains what damaged photograph restoration can address, where its limits lie, and how to handle and prepare an original before restoration begins.
Automated tools may suit simple blemishes, while complex damage calls for more careful review. Image-Tec provides historical image restoration from its studio in Methuen, Massachusetts, serving nearby communities including Boston, Manchester, New Hampshire, and Newburyport.
Key Takeaways
- Damage type, severity, and surviving detail determine what damaged photograph restoration can realistically improve.
- Keep an untouched source scan so you can compare edits and preserve the photograph’s original character.
- AI may help with simple blemishes, but it can invent details in missing or heavily damaged areas.
- Protect a fragile original by avoiding rubbing, flattening, and household products. Record its condition before editing.
- Image-Tec provides historical image restoration from Methuen, serving nearby communities including Boston, Manchester, and Newburyport.
Damaged Photograph Restoration: Identify the Damage Before Choosing a Fix
Damaged photograph restoration depends on the photograph’s condition and the purpose of the finished image. A file for viewing on a screen may need different adjustments from one intended for a large print. Before choosing an approach, note the type of damage, how much of the image it affects, and whether useful detail remains around it.
Digital work can improve visible problems such as uneven tone or a mark across a plain background. Rebuilding information that has disappeared is different. An edit can make a damaged area look continuous, but it cannot establish exactly what was there.
How fading, scratches, stains, and tears affect a photograph
Fading often shows up as weak contrast, washed-out tones, or reduced color. Some detail may still be present but hard to distinguish, so digital adjustments can make surviving tones clearer. They cannot bring back information that has completely vanished.
Scratches and surface marks are often easier to address when they cross a plain background than when they cut through an eye, patterned clothing, or fine lines in the scene. Stains and water damage may discolor or obscure the image. Tears and missing paper present a different challenge: they can separate parts of the image or leave an area with no photographic detail to work from. The repair should reflect the type and location of the damage, not just the size of the mark.
What restoration can recover, and what it cannot know
Nearby visual information can guide a repair. A scratch across a plain wall, for example, may be filled using the surrounding tone and texture. If damage crosses a face, the remaining features and nearby tones can help maintain a consistent appearance, but they cannot reveal the exact shape or detail that has been lost. Digital restoration methods can address different kinds of degradation, as outlined in Digital Image Restoration Techniques, but correction and reconstruction are not the same task.
Restoration can use surviving clues to make a damaged area look coherent, but it cannot reliably recover details that are completely missing. Any repair in those areas involves interpretation, not exact recovery. This matters especially for recognizable features such as a person’s eyes or expression. A restrained result aims to preserve the photograph’s character rather than make it look newly created or overly polished.
As you assess a photograph, note where damage falls, whether it covers important features, and what detail remains nearby. This quick inventory helps set a realistic goal: improve what the image still contains and treat reconstruction as an informed approximation.
How Professional Damaged Photograph Restoration Works
Careful damaged photograph restoration follows a considered sequence rather than applying one broad correction to the entire image. The aim is to address visible problems while preserving defining details and the photograph’s overall character. The work is done on a digital image, leaving the physical photograph unchanged.
Digital restoration edits an image file. It does not physically repair the photograph. A tear in the original may still be present after digitization. Digital work can improve how the tear appears in the resulting image, but it does not mend the paper.
From assessment to a working digital image
First, assess the type and extent of the damage, the details that matter most, and the intended use of the finished image. A small stain in an empty background needs a different approach from a crease across a face. The output goal matters too: a file for screen viewing has different practical demands from one being prepared for a fine art print.
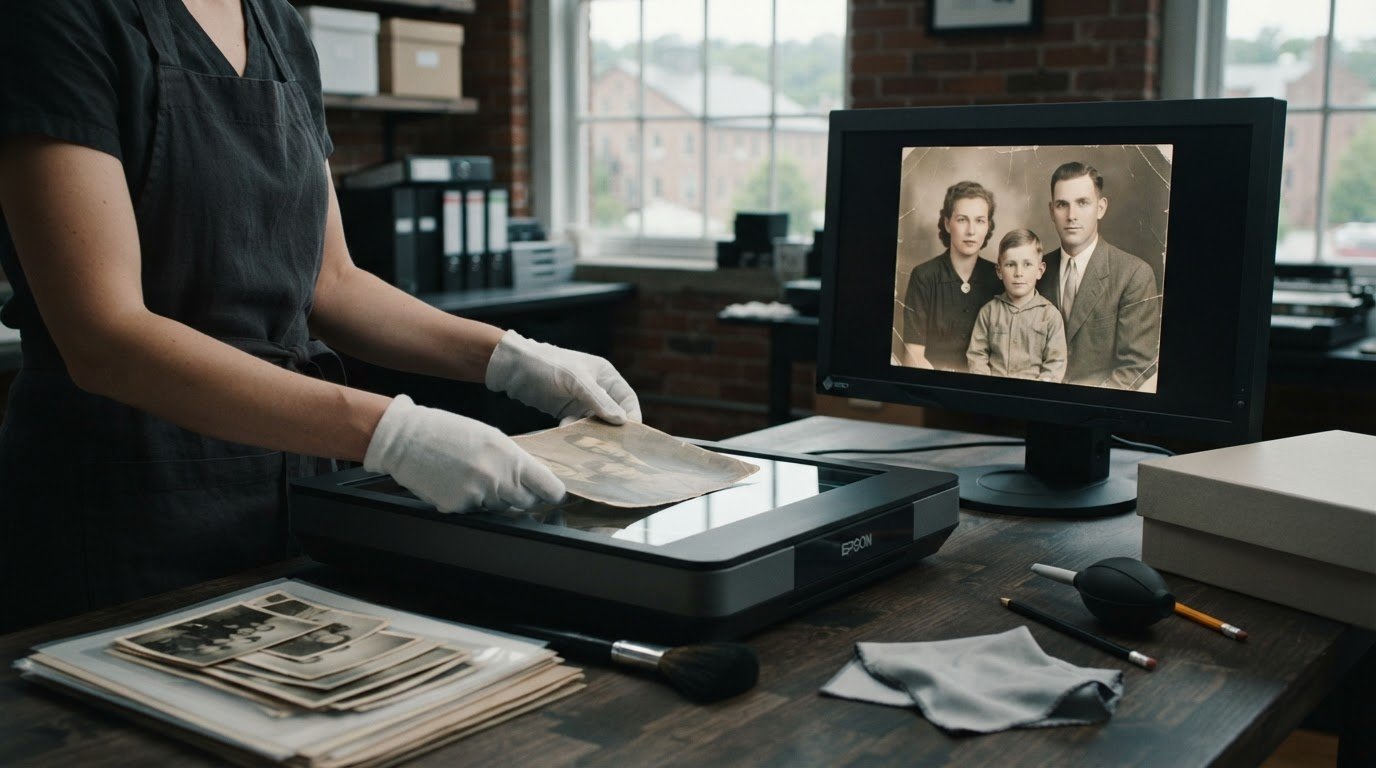
Next, digitize the photograph to create a working image. Keep the untouched source scan separate. It gives you a reference for comparison and a clean starting point if edits need to be reconsidered. It also makes it easier to distinguish the captured image from changes made during restoration.
Repair, review, and preserve the result
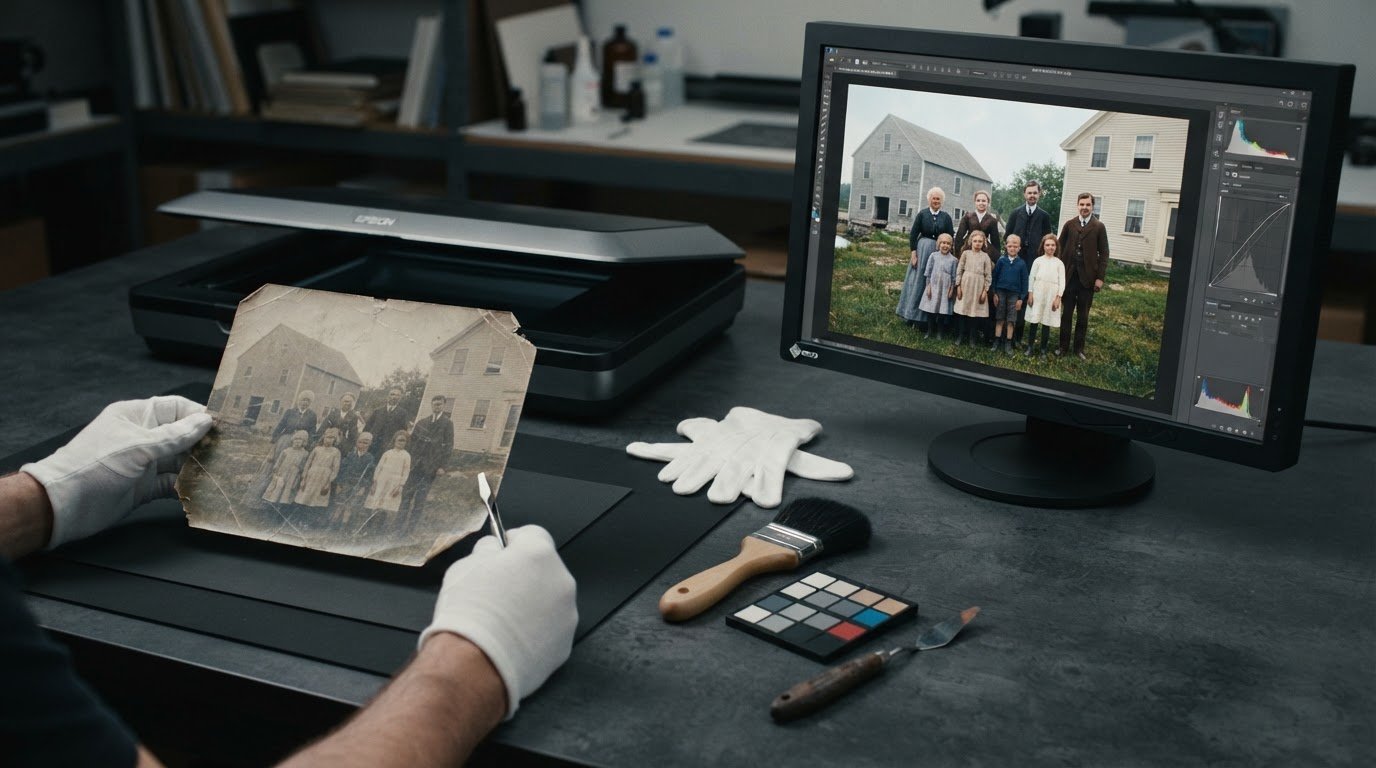
Work on specific issues rather than changing the entire image at once. Depending on the photograph, this may mean reducing the appearance of a mark, adjusting fading, or refining contrast and color. These corrections use visible information. Filling a gap where image content is entirely absent is an interpretive step, not a recovery of exact detail.
Review the result against the untouched scan. Check whether a repair has changed areas beyond the damage. For example, removing a spot should not also soften nearby detail or shift the tone of an intact section. Inspecting the whole image as well as individual areas helps keep the result consistent with the original.
Choose a final file suited to its intended use. Screen viewing and printing have different output needs, and the image’s resolution and condition affect whether it is suitable for a print. Image-Tec provides historical image restoration for meaningful or complex photographs, and restored images can be considered for fine art printing when appropriate.
Keeping the source scan and restored version distinct makes the work easier to assess later. For a photograph whose history or details deserve close attention, explore Image-Tec’s historical image restoration.
AI or Professional Restoration: Which Fits a Damaged Photograph?
The right approach depends on the damage and the level of control the image needs. An AI tool can be useful for experimenting with a digital copy, especially when the visible problem is limited. For severe damage or details with family or historical meaning, careful human review can help keep repair decisions consistent with the image as a whole.
| Consideration | AI tool | Professional restoration |
|---|---|---|
| Simple blemishes | May be a practical starting point for reducing minor marks. | Can apply selective corrections when a blemish is close to important detail. |
| Severe damage | May produce an appealing result, but complex tears or overlapping damage can be difficult to assess automatically. | Allows repair decisions to be considered in relation to the full photograph. |
| Missing details | May generate plausible-looking content that was not present in the source. | Can distinguish visible evidence from reconstruction that requires interpretation. |
| Control | Results can vary with the tool, prompt, or settings. | Supports considered, targeted adjustments to the image. |
| Review | Requires comparing the output with the original rather than assuming it is accurate. | Includes human judgment about whether the repair suits the photograph’s character. |
For meaningful images that need more than an initial experiment, Image-Tec’s historical image restoration provides careful digital work.
When an AI restoration tool may be a useful starting point
For a digital copy with a small, isolated blemish, an AI tool can help test a possible correction without changing the physical photograph. Treat the result as a draft. Compare it with the source, especially around faces, clothing, and patterned backgrounds, where an edit can alter more than the mark itself.
Try different outputs cautiously. A changed prompt or setting can produce a different result, and a convincing edit is not proof that the restored detail is historically accurate. Keep the original scan unchanged so you can return to it and judge whether the experiment preserves the photograph’s recognizable qualities.
When specialist restoration may better serve the image
Severe tears, damage across multiple features, and missing sections require decisions beyond removing a visible mark. A tool may fill an empty area with a plausible pattern or facial detail, but it cannot know what was actually there. That distinction matters when a face, uniform, inscription, or other meaningful feature needs to remain faithful to the photograph.
Human review considers local repairs alongside the composition, tone, and character of the whole image. For photographs with complex damage or historical importance, professional historical image restoration offers a considered alternative to relying on automated output alone.

How to Protect and Prepare a Damaged Photograph
Protect the physical photograph before attempting digital repair. Rubbing a stain, pressing a curl flat, or applying household cleaners or adhesives can cause further damage. If the surface is flaking, the paper is brittle, or parts are stuck together, do not try to separate or treat them at home. Gentle handling and a record of the condition are safer first steps than an improvised fix.
Safe handling before digitization
Handle the photograph as little as possible and keep it on a clean, stable surface while you inspect it. Do not rub, scrape, flatten, or apply liquids or household products. Avoid peeling apart stuck layers or trying to treat water, adhesive, or mold damage yourself. If the print appears especially fragile or actively damaged, pause rather than risk changing it before digitization.
Document what you can see without altering the print. Note where tears, stains, fading, or missing areas appear, and record details that matter to you, such as names, dates, or the identities of people in the image. These notes can guide restoration and help keep expectations grounded in what the original shows.
Creating a useful digital reference
A camera capture and a scan are two ways to create a digital reference. A camera capture can be useful if the print is too delicate, curled, or otherwise unsuitable for a scanner. A scan can provide a direct digital copy of a stable print, but not every physical condition is appropriate for scanning. Do not force a fragile or damaged photograph onto equipment just to create a scan.
If you photograph the print, use even lighting, sharp focus, and a straight-on view. Check for glare or shadows that obscure detail, and include the entire photograph rather than cropping the edges. The borders and visible damage provide useful context that a tight crop may remove.
Before experimenting with edits, save an untouched copy of the capture. Make adjustments on a separate working copy so you can compare changes with the original reference and return to it if an edit alters important detail. This distinction also helps when deciding whether the image is suitable for a screen or a potential print.
For a meaningful or fragile photograph, preparation is part of the restoration decision, not a reason to take unnecessary risks with the original. Image-Tec provides historical image restoration for photographs that need careful digital attention. Explore Image-Tec’s historical image restoration.
Professional Damaged Photograph Restoration Near Methuen, Massachusetts
Some photographs need more than a quick digital adjustment. A face partly obscured by a tear, a stain across an inscription, or several kinds of damage on a historically meaningful image can require careful judgment about what to correct and what to preserve. Image-Tec provides historical image restoration for photographs that need considered digital work, with the aim of respecting the original while improving the image.
Image-Tec is based in Methuen, Massachusetts, and serves nearby communities including Boston, Manchester, New Hampshire, and Newburyport. A useful restoration discussion starts with a clear description of the photograph’s condition and what you want to do with the finished image.
What to bring to a restoration discussion
Describe the visible damage, such as fading, tears, stains, or missing areas, and point out any details that matter especially to you. If the photograph has personal or historical significance, share that context. It can guide decisions about preserving recognizable features and the image’s overall character, particularly when some details require interpretation rather than exact recovery.
Also describe the intended result. You may want a digital image for viewing and sharing, or a file prepared for possible printing. If you have a digital capture, keep an untouched copy and note any edits already made. Do not alter a fragile physical original to prepare it for discussion.
From restored image to a considered print
A restored digital image may be suitable for printing, depending on its resolution and condition. Visible damage, limited detail, or extensive reconstruction can affect how it appears at a chosen size. Discuss the intended print use early so the restoration goal stays practical, without assuming every image suits every format.
For an image that is suitable, Image-Tec also offers Giclée printing and custom framing. The studio’s large format fine art printing information provides context for considering scale and presentation after restoration. The restored image’s quality and the intended display should guide that decision.
If you’re ready to discuss a meaningful or complex photograph, describe its condition and the result you have in mind. Explore Image-Tec’s historical image restoration and take the next step toward a considered restoration.
Move Forward with a Clear Restoration Goal
A meaningful photograph does not need to look untouched to feel whole. Decide what matters most to you: preserving a recognizable expression, making a scene easier to view, or preparing an image for display. That priority can guide restoration choices and help distinguish faithful correction from reconstruction that could change the story the photograph tells.
Before beginning, write down the details you want preserved and how you hope to use the result. A focused brief gives the restoration work a human point of reference, not just a list of marks to remove. For complex or personally significant images, professional judgment can help balance visual improvements with the character of the original.
Image-Tec provides professional historical image restoration from its Methuen studio, serving nearby communities including Boston, Manchester, New Hampshire, and Newburyport. To take the next step with a photograph that matters to you, discuss your photograph restoration project with Image-Tec. A thoughtful start can help your damaged photograph restoration respect both the image and the memories it holds.
Frequently Asked Questions
Can a severely damaged photograph still be restored?
Often, some visible damage can be improved, but the result depends on how much image detail survives. A photograph with a large missing section may be made more coherent, yet reconstructed content cannot be known to match what was originally there. For a severely damaged image, decide which features matter most, such as a person’s likeness or a handwritten inscription, and use those priorities to guide restoration.
Can a damaged photograph be restored from a digital copy?
Yes. Damaged photograph restoration can be done from a digital copy if it contains enough clear detail. A compressed image saved from a messaging app, for example, may contain less information than a high-quality scan or capture. Use the best-quality copy available and mention whether the physical print still exists. That context helps determine whether the file is a useful source for the intended edits.
How much does damaged photograph restoration cost?
Cost depends on the work involved. A small correction to an otherwise clear image differs from detailed work across a damaged face or a large missing area. For a useful project discussion with Image-Tec’s Methuen studio, describe the visible damage and intended result, such as a digital image or a file for printing. The size of a mark alone does not determine how complex a repair will be.
How long does professional photograph restoration take?
The time required depends on the photograph’s condition and the amount of detailed work involved. A simple tonal adjustment and reconstruction across several damaged areas are different tasks. A clear description of the image, its condition, and intended use helps frame the restoration project and the work it requires.
Will restoring a photograph change the original print?
Digital restoration works on a digital image, so edits do not change the physical print. The original remains as it was unless it is separately handled or altered. This allows you to create a corrected version while retaining the print as a reference. If the photograph is fragile, keep it protected and avoid trying to clean or repair it yourself before digitization.
Can a restored photograph be printed as a large fine art print?
It may be possible, depending on the digital image’s resolution, condition, and visible detail. A file that looks clear on a phone screen may not retain the same detail when enlarged. Image-Tec offers Giclée canvas and fine art prints up to 60 inches wide, along with custom framing. Consider the intended display size early so the restored file can be assessed for that use.







Leave A Comment
You must be logged in to post a comment.